TAKE NOTE:
These instructions are not for the feint of heart. They are complex. They do involve some learning
Some SBS Receivers are still NOT supported
Raspberry PI + DVB Stick + PI24 although come with a cost. May be easier for some users
Please request any assistance with issues following this guide here:
STEP (1) - Install Oracle VM on Windows Computer.
Download page: https://www.oracle.com/technetwork/s...ads/index.html
Download & Install:
- Windows Installer
- Extension Pack (for USB 2.0 & 3.0 compatibility)
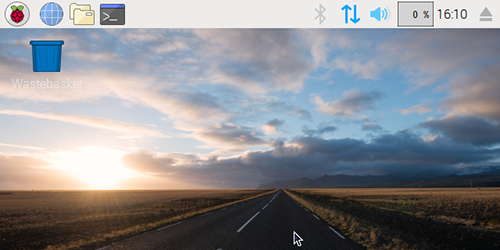
STEP (2) - In the Oracle VM, install Linux "Debian Stretch with Raspberry Pi Desktop"
Download page: https://www.raspberrypi.org/download...ry-pi-desktop/
Instructions to configure Raspberrypi Desktop on OracleVM:
STEP (3) - To be able to give commands from Windows to Raspberrypi Desktop in VM
You have to do two things:
(a) In VM
Settings >> Network, change default setting "NAT" to "Bridged".
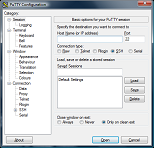
(b) Install PuTTY on Windows.
STEP (4) - Attaching DVB-T to VM:
When DVB-T is plugged into Windows Desktop, it remains available to Windows only.
To enable Raspberrypi OS to use DVB-T, it should be attached to VM.
Steps 1 to 7 in the two screenshots below show how to do it.
VM USB -1.png . . VM USB -2.png
You can check if DVB-T is attached by following command.
Code:
lsusb
Code:
Bus 001 Device 002: ID 0bda:[COLOR=#FF0000]2838 Realtek Semiconductor Corp. RTL2838 DVB-T[/COLOR]
Bus 001 Device 001: ID 1d6b:0002 Linux Foundation 2.0 root hub
Bus 002 Device 002: ID 80ee:0021 VirtualBox USB Tablet
Bus 002 Device 001: ID 1d6b:0001 Linux Foundation 1.1 root hub
STEP (5) - Installation of Flightradar24 Feeder
(a) Install decoder dump1090 variant (for DVB-T only, not required for SBS and Beast)
(b) Install fr24feed
Please see next post for detailed instructions for decoder and feeder installation.

